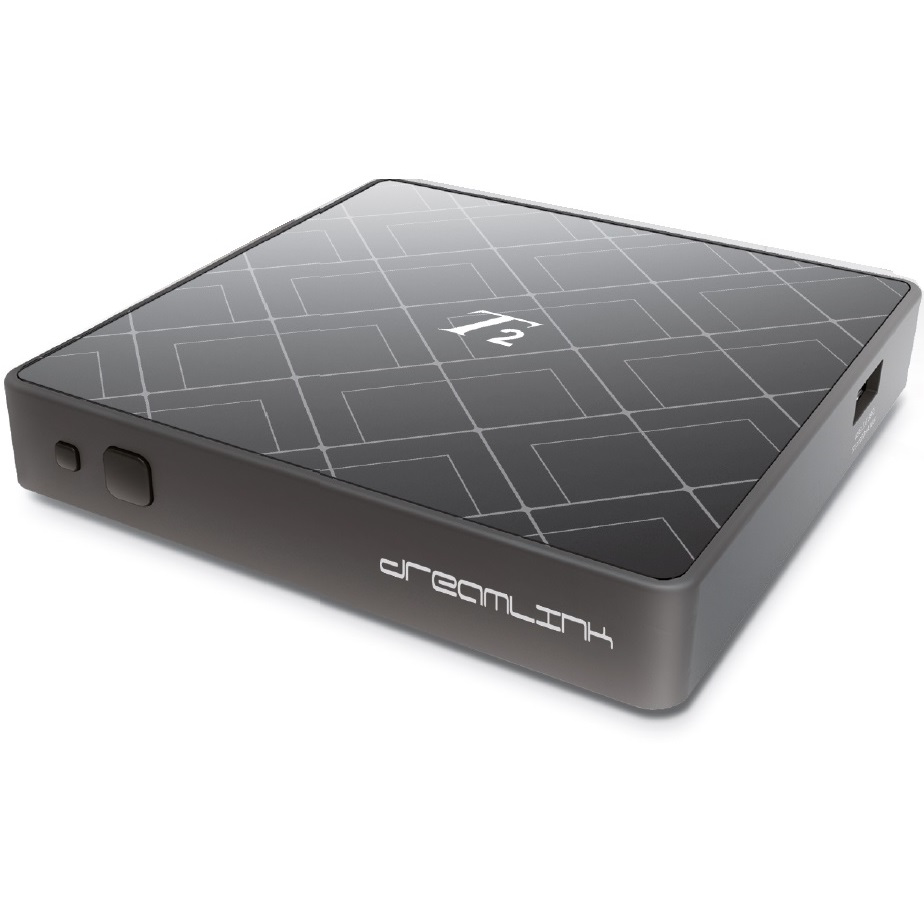
You can use different devices to have access to the channels on IPTV. The most popular of them are Dreamlink T1 and T2. It is most running because of the easy-to-use interface. It is based on stalker middleware. Which allows the conversion of online channels into a designated menu. Giving you access to many different things. Such as the liberty to choose your own channel. For setup IPTV on Dreamlink box, the process is very easy.
Not only it is limited to this the interface can be useful in many more ways too. You can have a web browser in the streaming device, a video player. Moreover, the option to use a number of different applications as well. On top of that, the most basic function of the streaming device. Is to make sure that choosing channels from numerous options is easy.
How to add IPTV channels to Dreamlink
The process to add channels on your Dreamlink device is quite easy to understand. You can easily use the following demonstration.
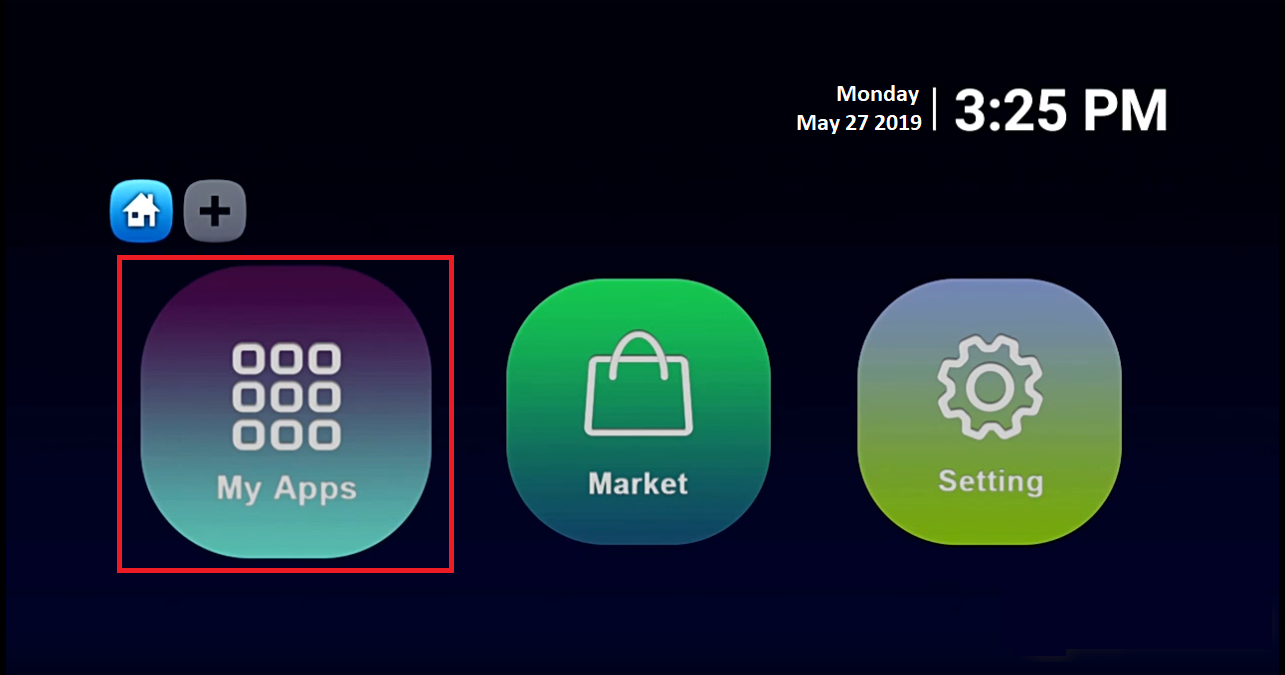
Step 1: On the front main page, you have the option of My Apps.
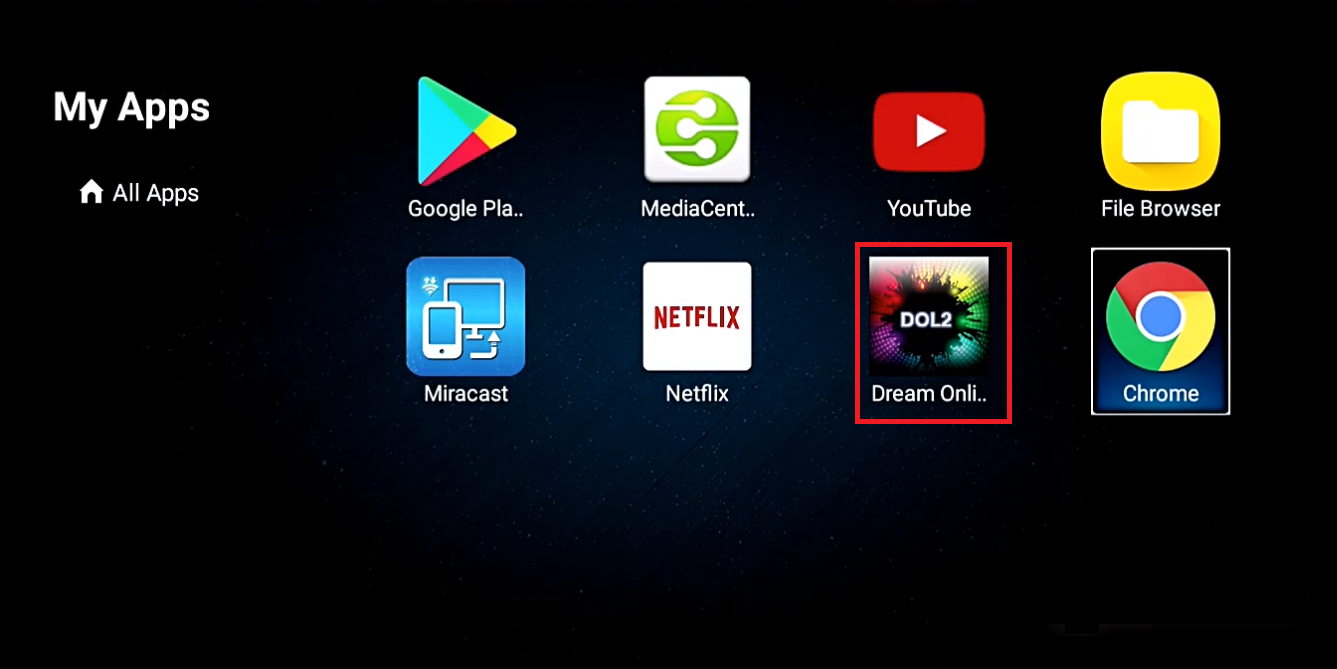
Step 2: Select the option of DreamOnline (DOL 2).
Note: If you are unable to find the option of DreamOnline in my apps folder. You have to go back to the market folder. Look for the DreamOnline and easily install it. After you are done with this process. You will successfully see the DreamOnline option now.
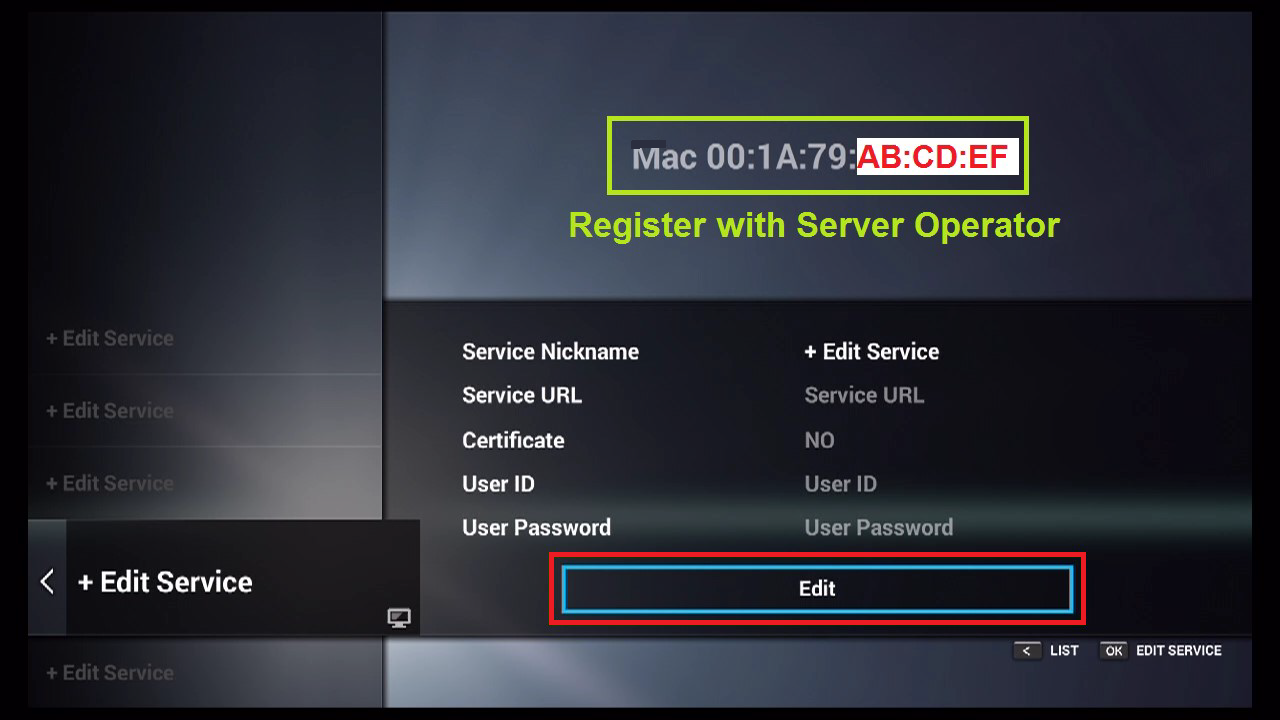
Step 3: Now simply look for the option to Edit Service where you will further see the option of Click edit.
Note: If required you need to register yourself on the Server Operator Homepage. You can do it with the help of a MAC address, which is obtainable on the backside of the box.
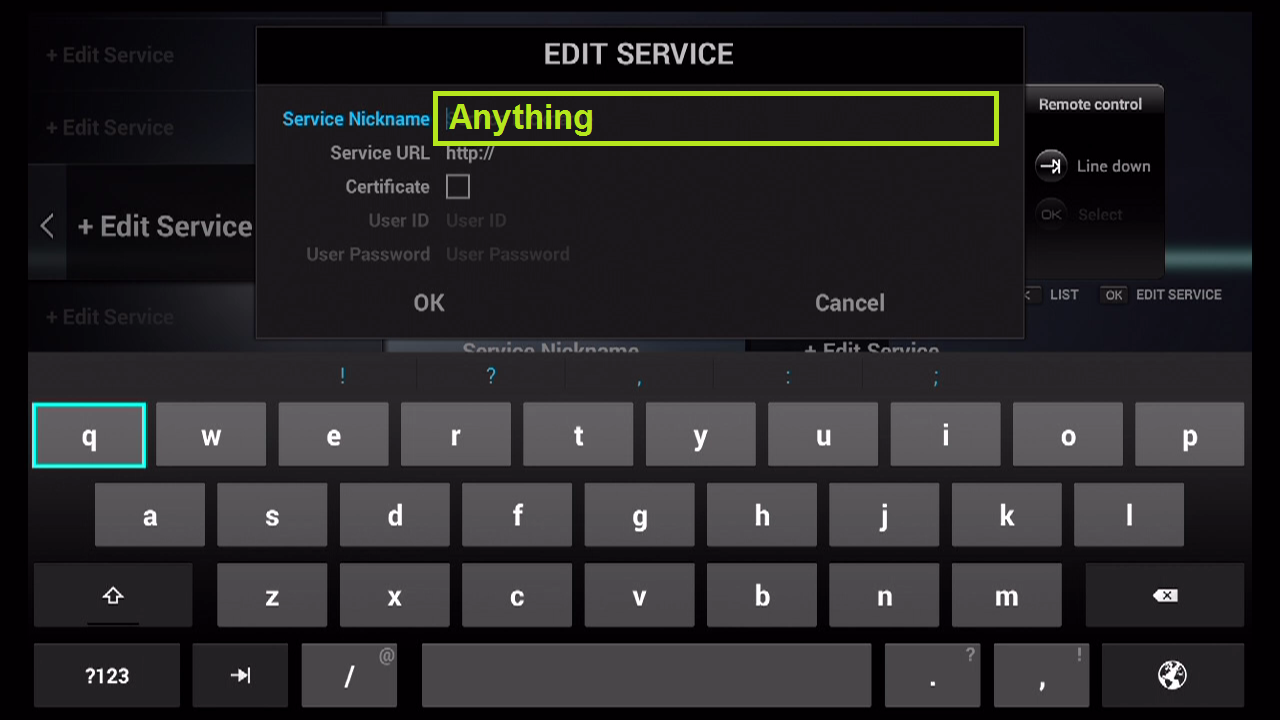
Step 4: You have the option to choose any server nickname of your choice for setup IPTV on Dreamlink box .
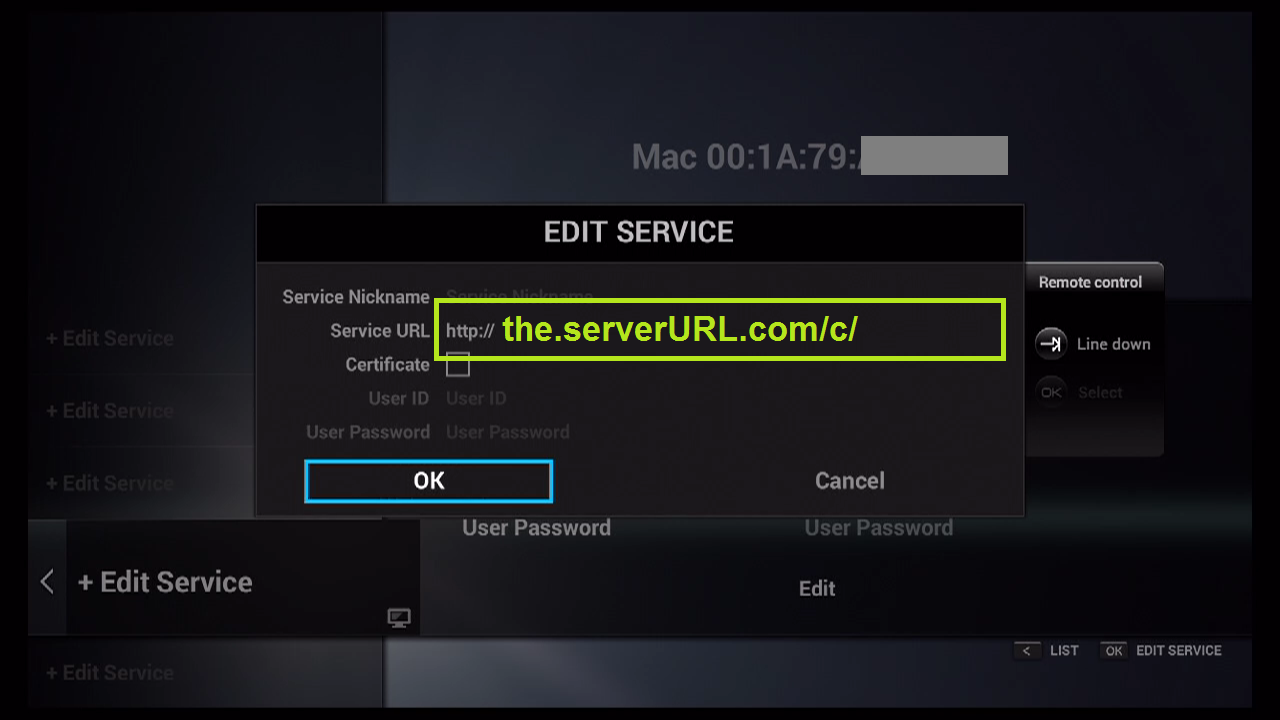
Step 5: You need to enter your IPTV server URL. Also, known as Portal URL. As we have discussed earlier, it is provided by your Server operator.
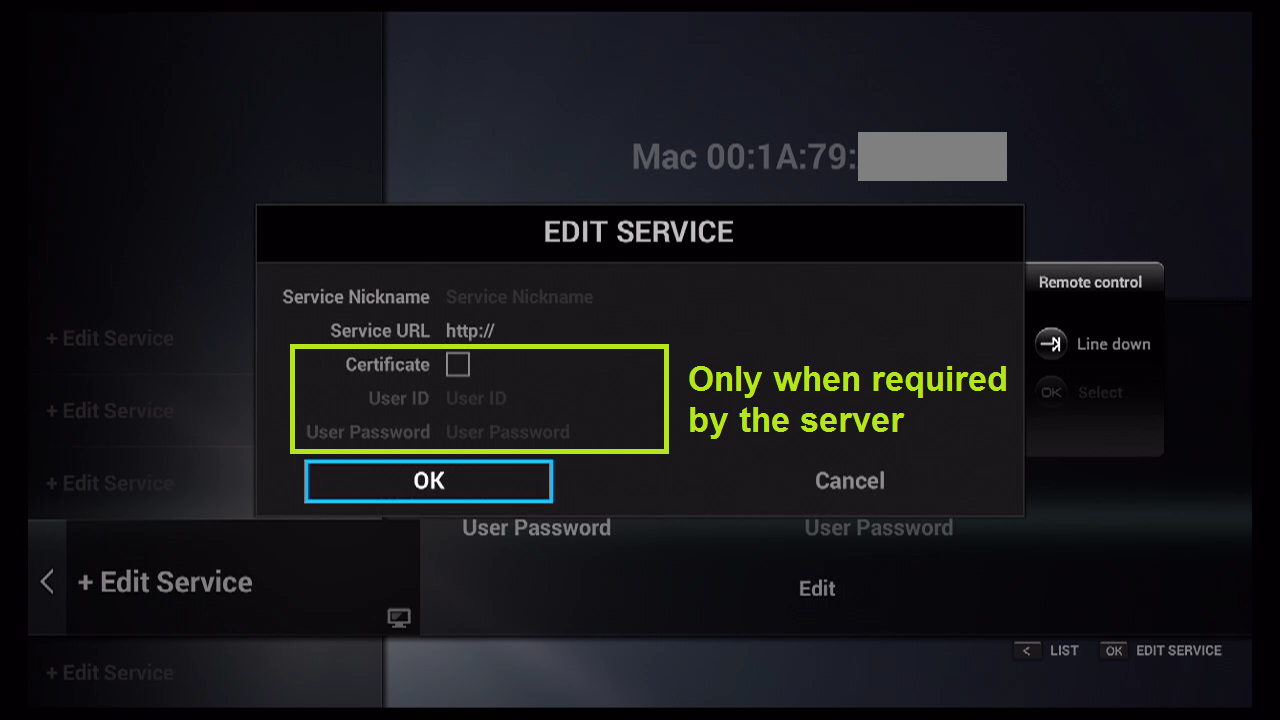
Step 6: It is not a requirement to enter the username and password. The process is optional.
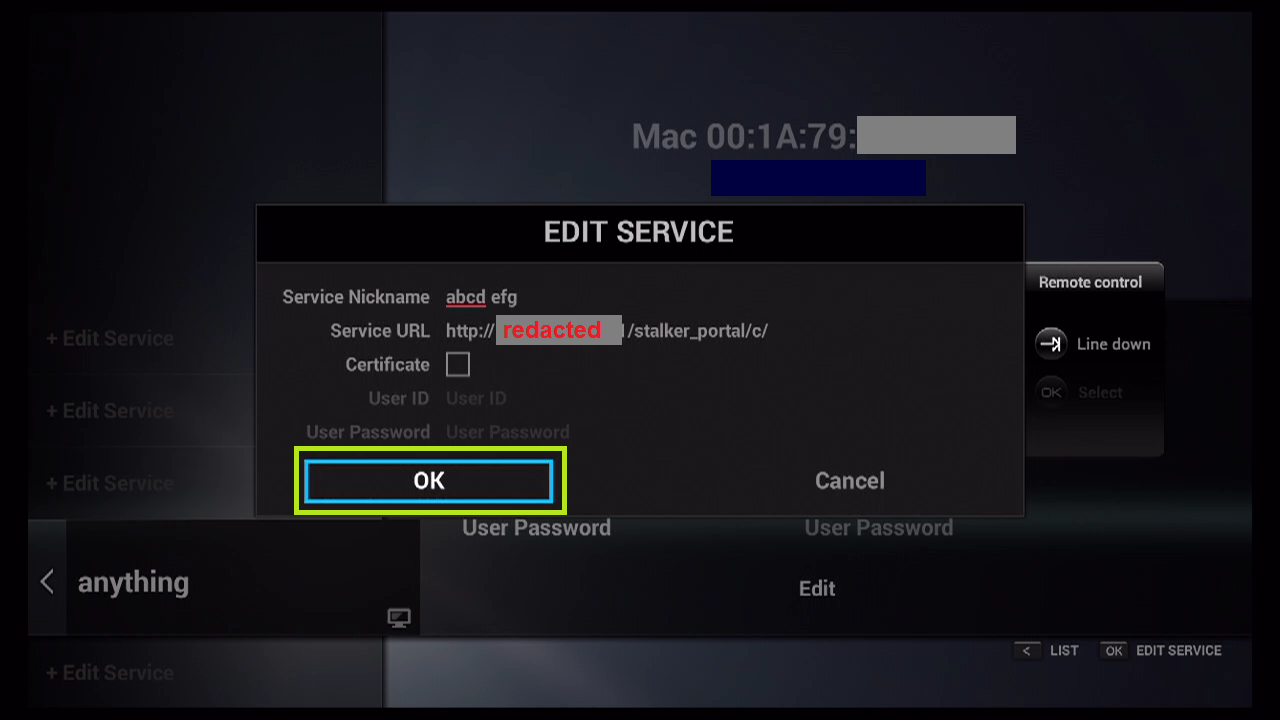
Step 7: Press on the option of “OK“. To save everything.
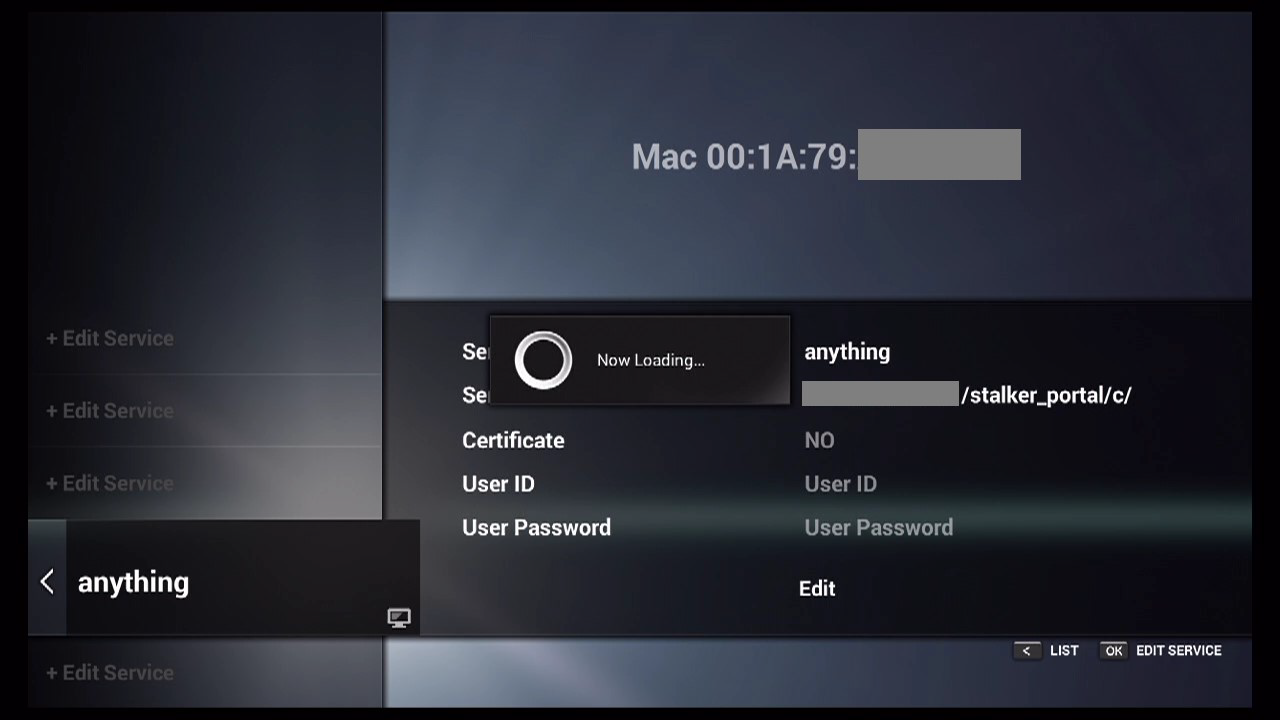
Step 8: You will see the confirmation that a connection to IPTV is being established. And registering your data. The process is in progress.
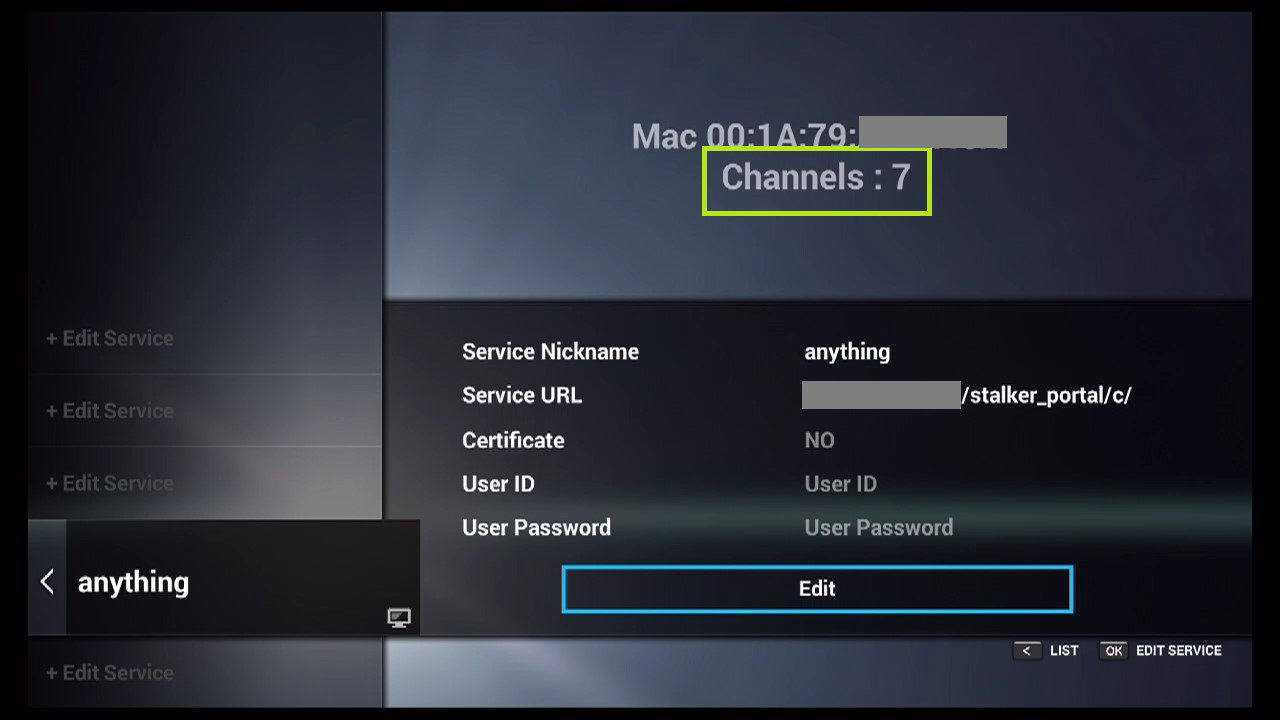
Step 9: After everything is on its right way. You will see a confirmation message for your connection. And all the channels associated with your account will start coming up.
We are always open to criticism and feedback. You can provide your helpful feedback in the comment section down below. Thanks in advance!